Saving Images for Web Using Photoshop: 2 Methods

Using Photoshop’s “Save for Web” feature, you can easily save your images without ruining the quality like many other image compressors do.

Method 1: Save Single Images for Web

This method works best if you only need to save one image, or maybe up to five or so. Otherwise, you will want to use Method 2.

Screenshot of Photoshop Save for Web Settings

Step 1: Go to File > Export > Save for Web

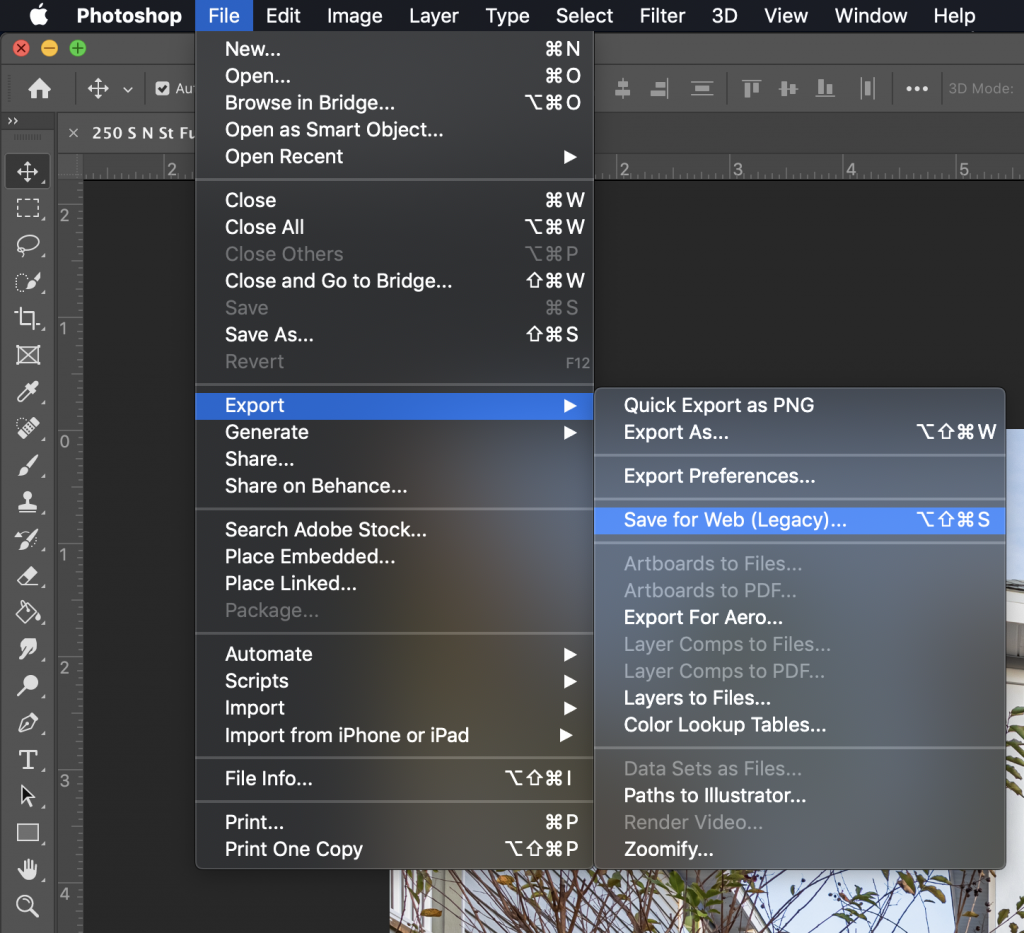
Or Option+Shift+Command+S if you’re feeling fancy.

Screenshot of Photoshop Save for Web Image Dimensions and Quality

Step 2: Set Dimensions & Quality

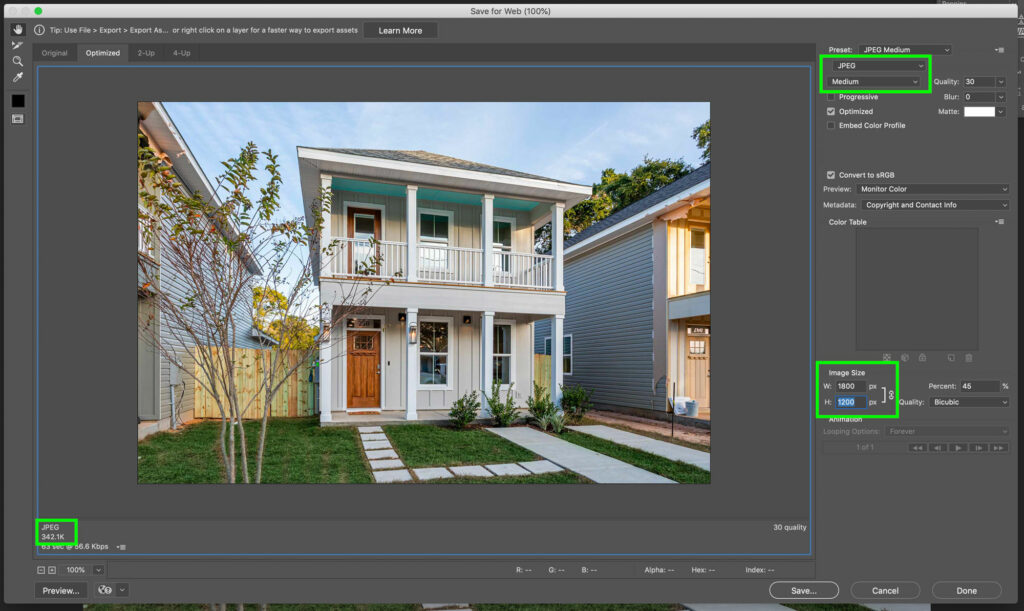
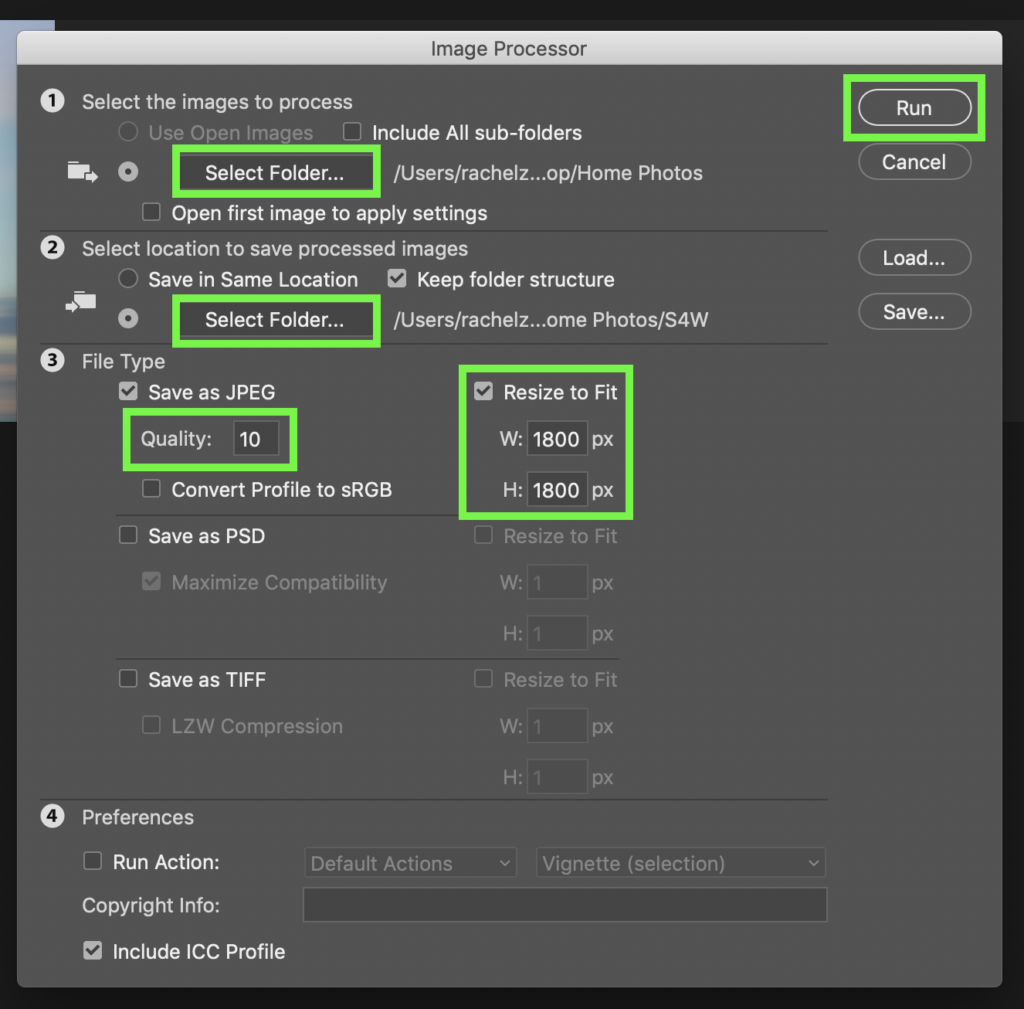
Adjust the image dimensions and quality until you reach a happy medium. The goal is to keep all images under 500KB.

Start by adjusting the dimensions first. 2000px is the absolute max width I would ever use, and I really only do that for full width backgrounds or parallax images. Otherwise, just shoot for 1800px at the longest edge (depending on portrait or landscape orientation) and it will be plenty big enough.

Once that is set, check the file size (bottom left). If that is under 500KB, you’re good to go! If not, adjust the quality using the dropdown in the top right. Start at Maximum, and keep lowering it until the file size goes down to under 500KB. Then you’re done!

Method 2: Save a Set of Images for Web with the Bulk Image Processor

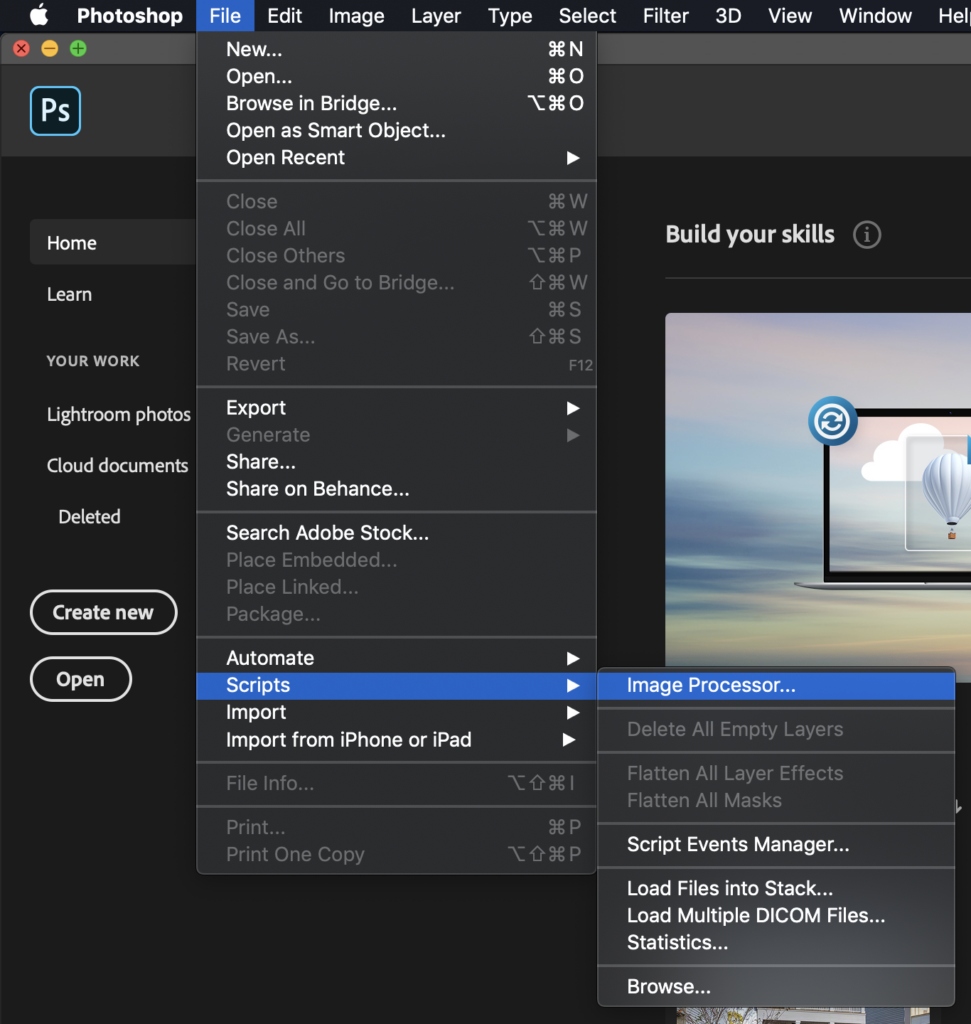
This method works well for automating the process. If you need to save a whole folder’s worth of images for web, this is the way to do it!

Screenshot of Photoshop Image Processor Settings

Step 1: Navigate to File > Scripts > Image Processor.

Screenshot of Mac Finder Window of Images and Folders
I create a folder named “S4W” (short for Saved for Web) within my main images folder so I can ♪ keep them separated. ♪

Step 2: Choose Where to Save Images

  1. Select the folder with images that need to be resized.
  2. Then, make a new folder for the new resized images to go into.
Screenshot of Photoshop Image Processor Dimensions and Quality Settings

Step 3: Make Adjustments

  1. I usually leave the quality set to 10, and go back and adjust later if I need to.
  2. Set the max dimensions to 1800px on either edge.
  3. Run! (…not literally. This will make your life so much easier and you will love it.)
Screenshot of Mac Finder Window with images in a list format

Step 4: Done!

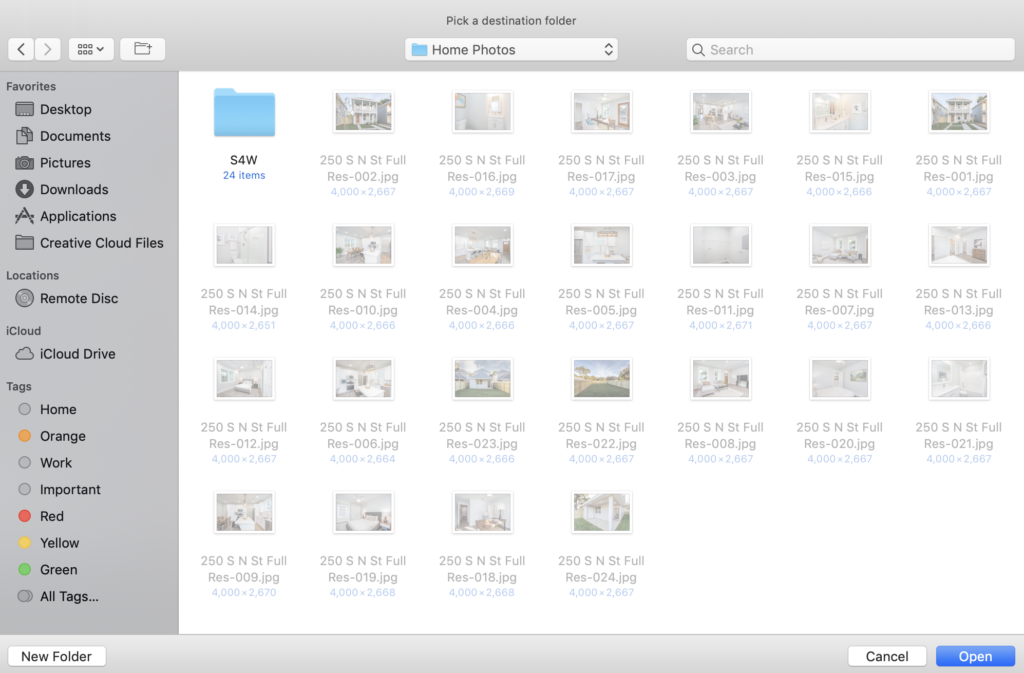
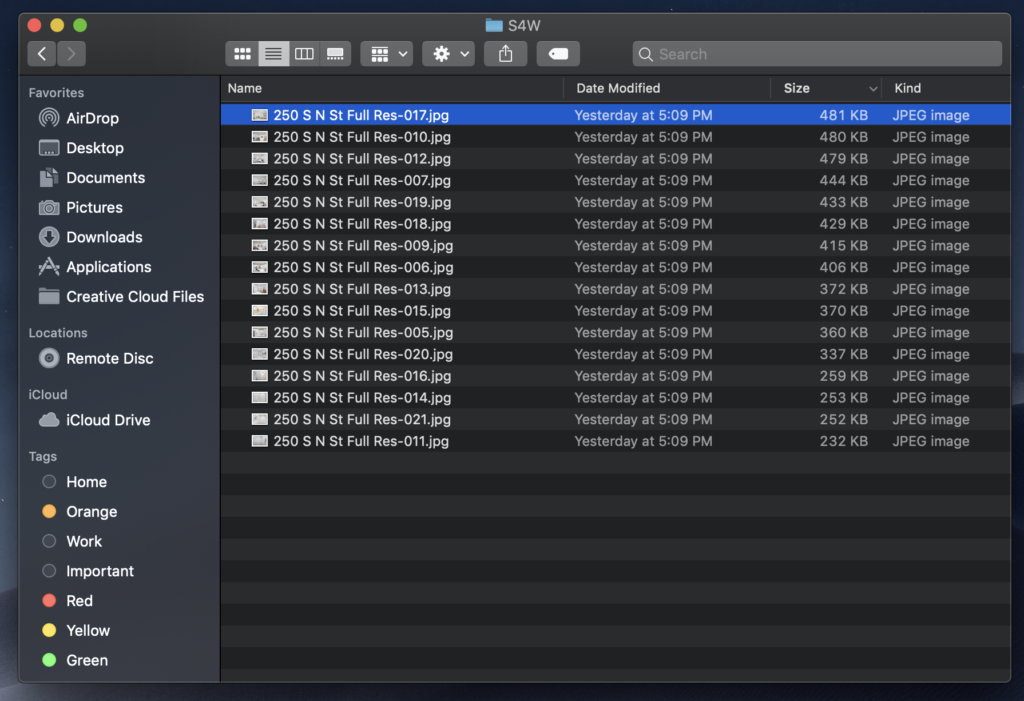
Go to your Finder and relish in the glory of your freshly saved-for-web images!

Hope this helps save you some time!

💜 Rachel

Save or share this post

LinkedIn
Pinterest
Facebook
Email
WhatsApp
X
Print
Threads

Leave a comment

Leave a comment

Your email address will not be published. Required fields are marked *


Picture of Rachel Zampino

Rachel Zampino

Website Wizard

Hi! I’m Rachel Zampino, freelance WordPress developer and digital designer. Here to share all my web knowledge and tips with you.


If you enjoyed this post, consider buying me a coffee to show your support — or hire me to build you a website that you’ll be proud to show off!