
First things first, if you don’t see your Document Assets Library on the left tab of your screen, click on this little guy in the bottom left corner of your XD window to open it.
Then, you should see something like this (except probably without any assets just yet):
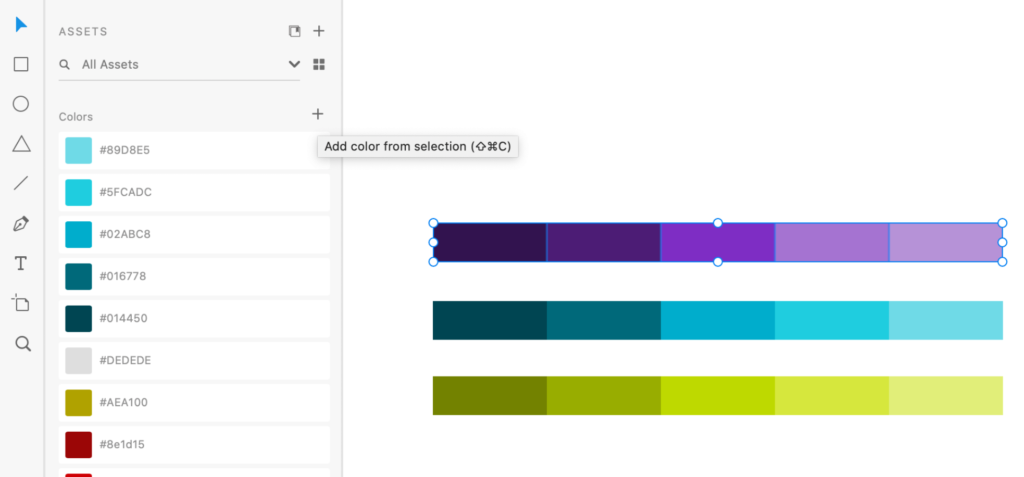
Start by selecting all of the colors you want to add to your library, then click the plus icon (or you can just Shift+⌘+C) to add them to your Assets.
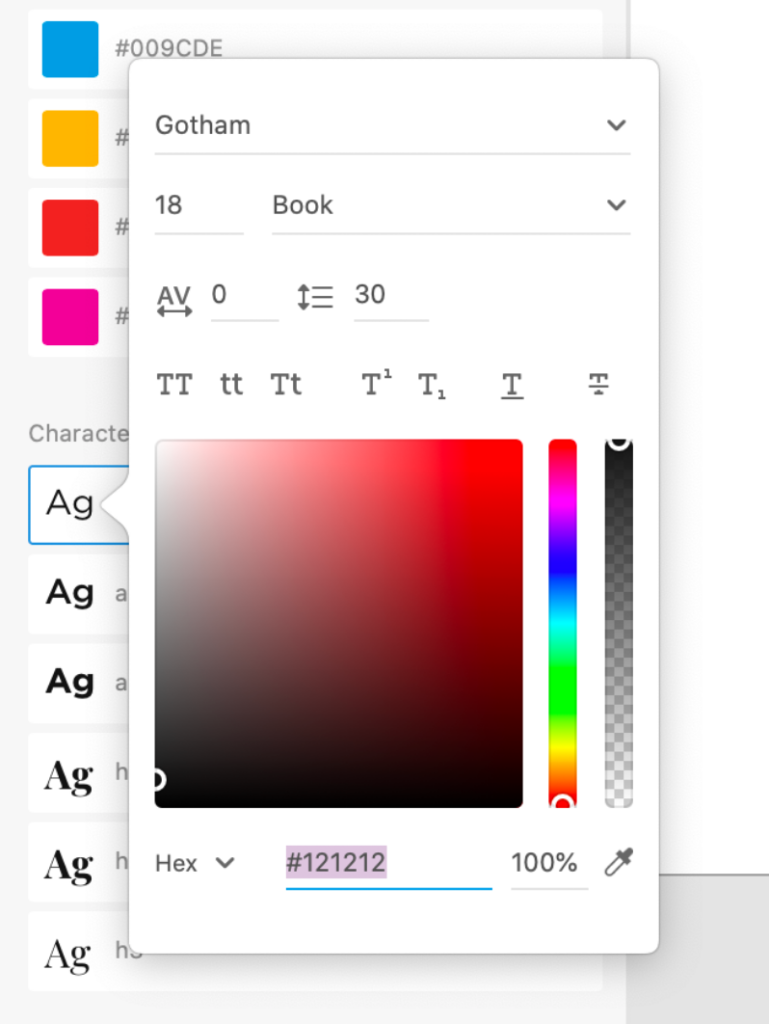
If you later decide the color needs to be tweaked, you can easily do so within this window:
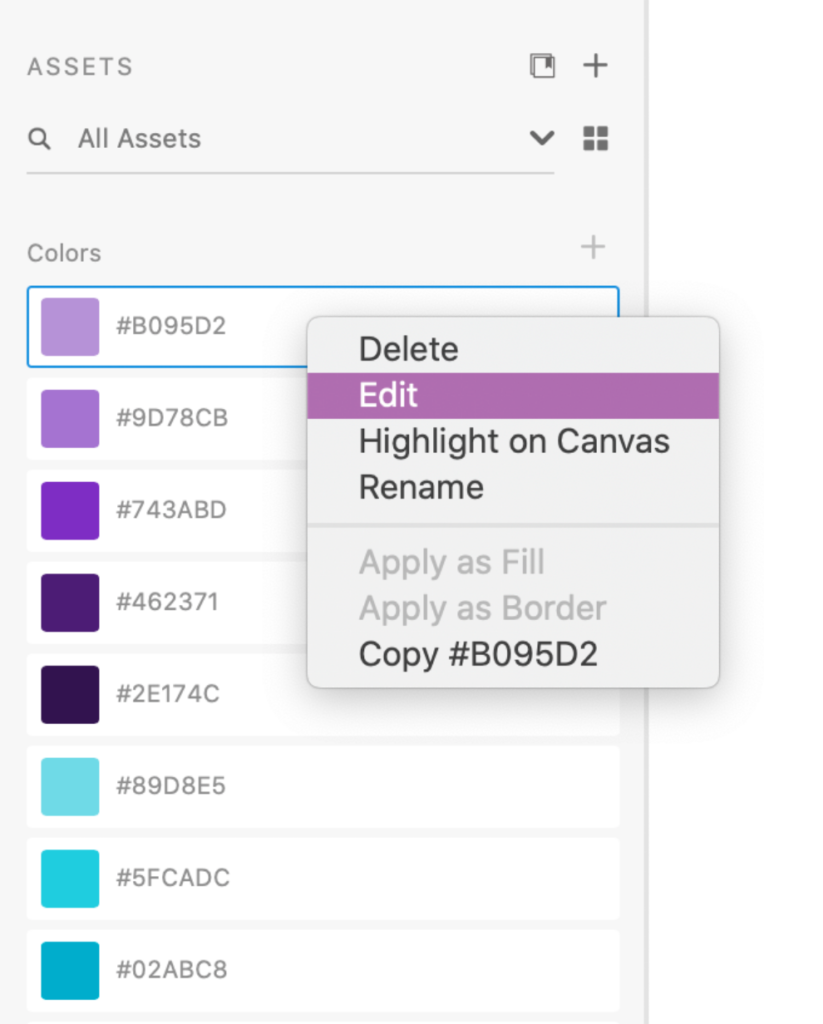
Right click on the color you want to edit, and select one:
Introducing my all time favorite XD plugin: Color Designer.
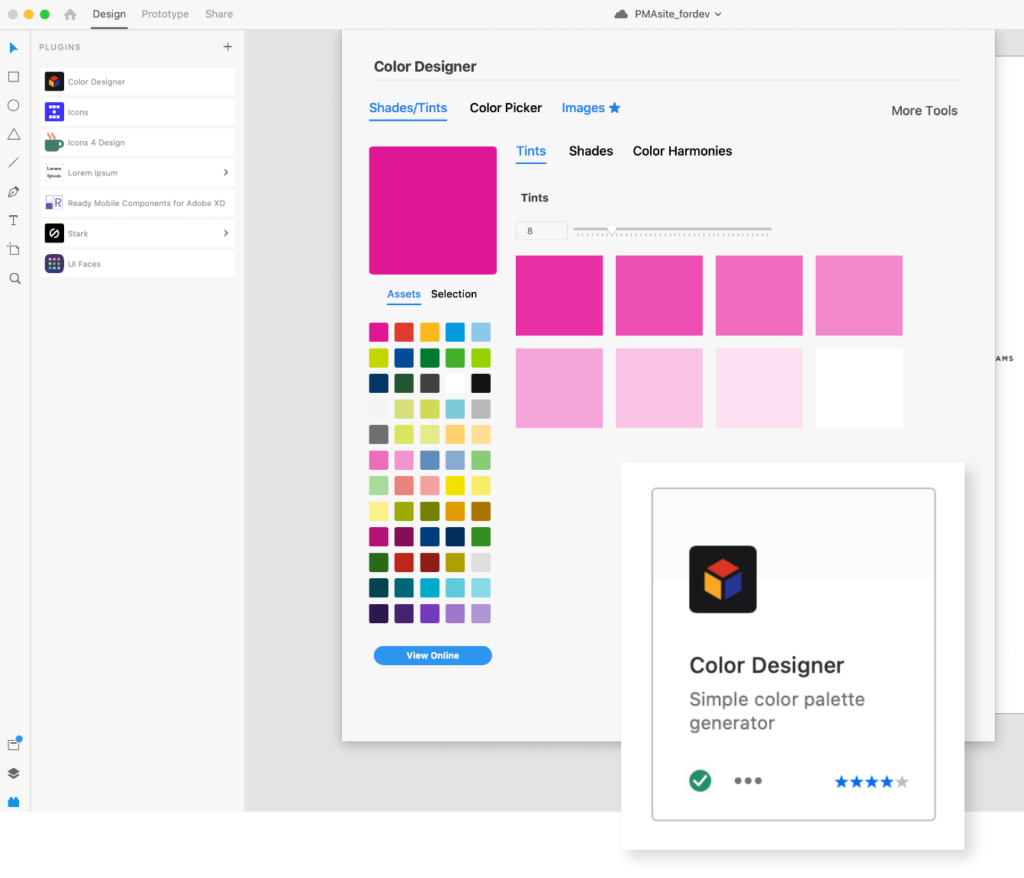
Colors are hard to pick. But Color Designer makes them super easy. (This is not sponsored, I just literally love this plugin.)
If you have a few primary brand colors to work from, you can easily build out an entire palette. Just select your color, then you can generate tints, shades, complementary, or analogous colors!
I used to hand pick colors and I don’t even want to think about how much time I wasted.
*You can install it within XD under Plugins > Discover Plugins > Search “Color Designer > Click “Install”!
Now, back to your regularly scheduled programming…
Just like you did with the colors, you can add typography styles to your library too!
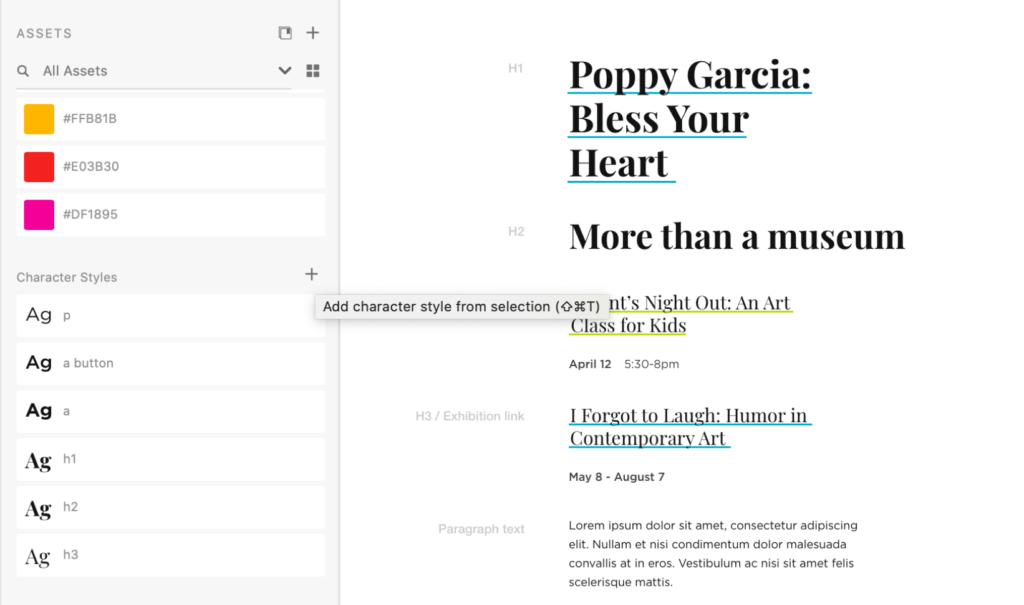
Start by selecting all of the type styles you want to add to your library, then click the plus icon (or you can just Shift+⌘+T)
I get real OCD with mine and rename them to the appropriate HTML tags to help the developer working on the project to know how and when to use them. But you don’t have to do that. [more on that later]
Again, like you did with the colors, you can right click to edit the type styles; down to the typeface, size, weight, tracking, leading, capitalization, color, and more.
You will L-O-V-E this feature when you get into a 20 page website and have to adjust a type style. Rather than updating every instance of that type manually, you can edit the style here and apply it across ALL INSTANCES. ALL PAGES. Technology is amazing.