
* I’m using the default WordPress 2020 theme here with my own font and color styles, so it may look slightly different from what you see on your screen.
Style the button however you want!
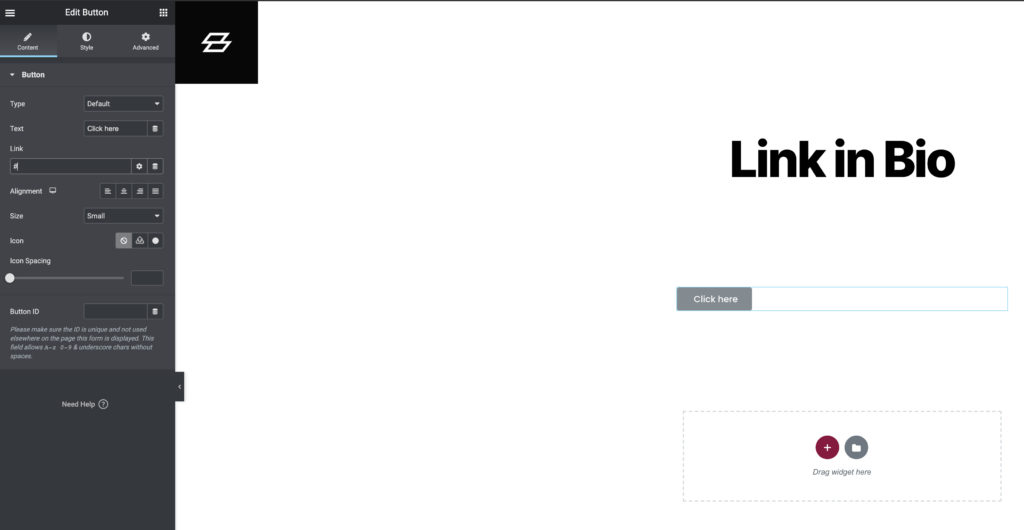
Once you’re happy with the look of the button, duplicate it to add more links!
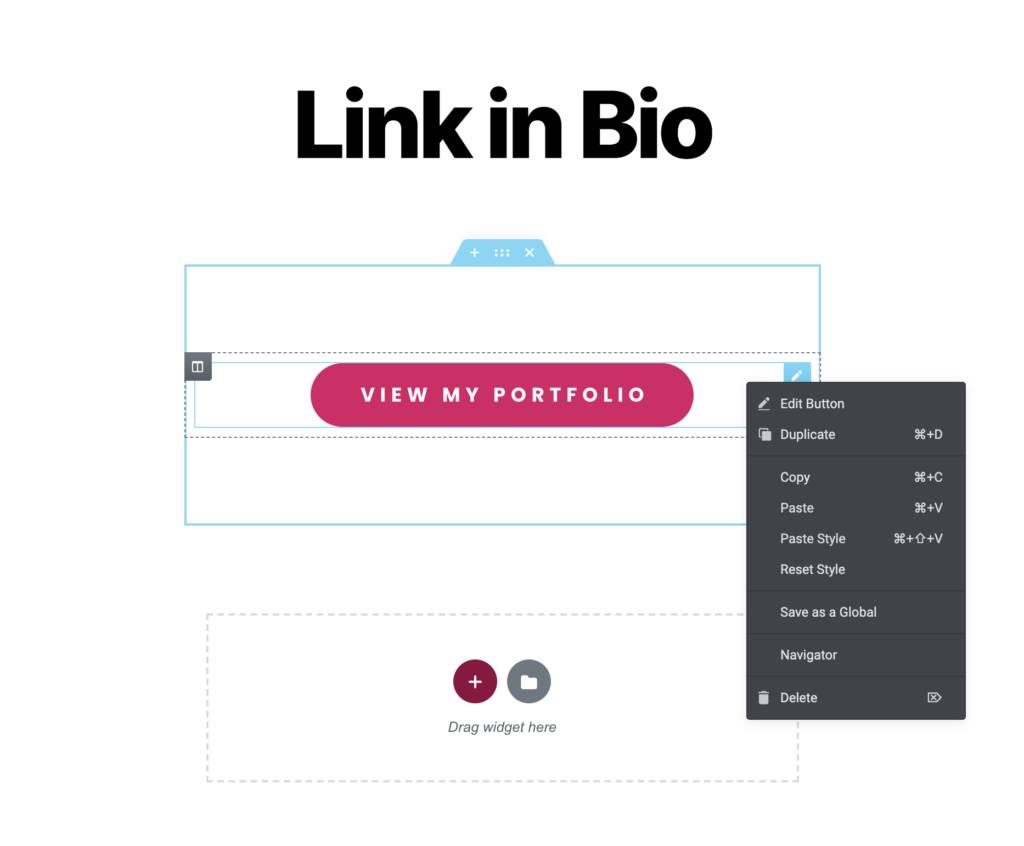
Don’t forget to enter a URL for each button.
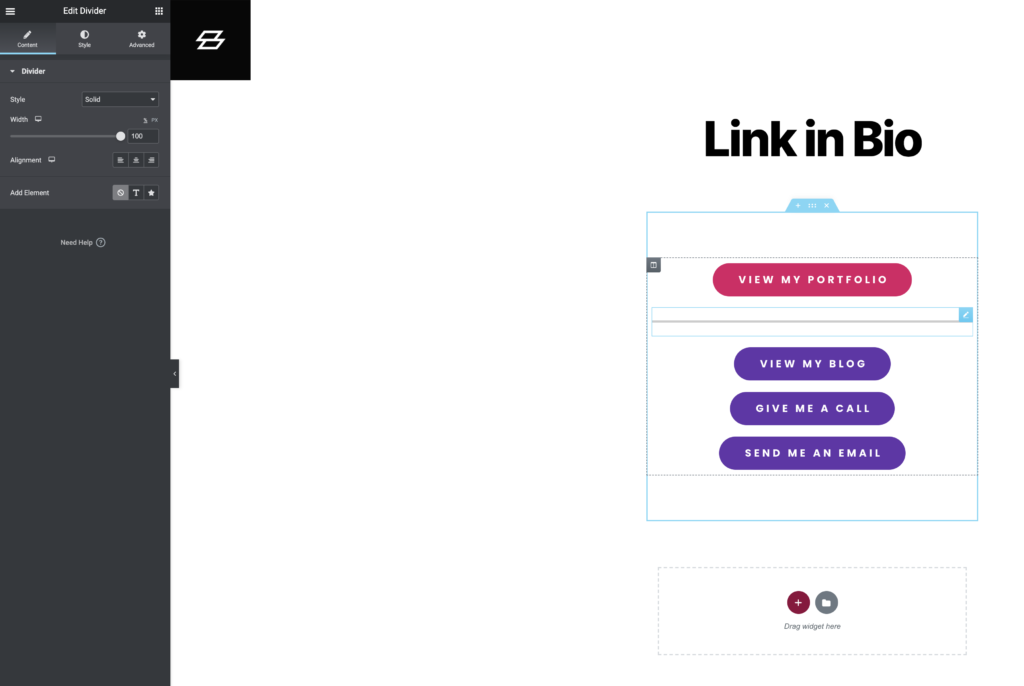
Pro Tip: Add a Divider to make the first button to stand out from the rest!
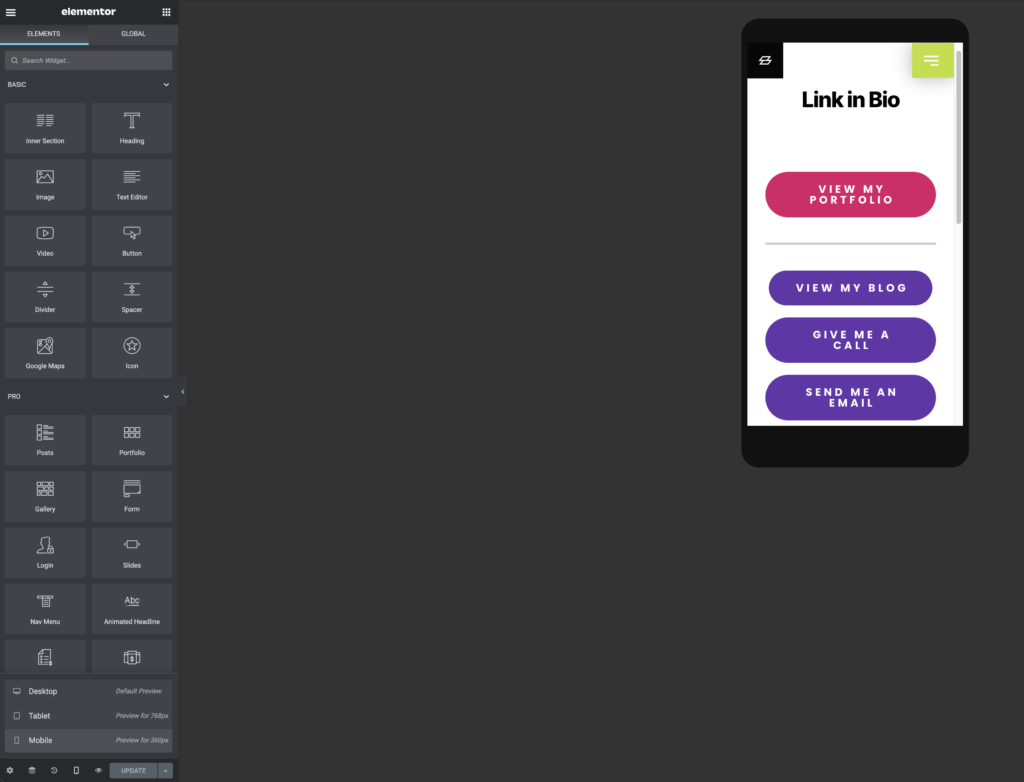
Use Elementor’s screen size previews to make sure everything looks good on the Mobile view, since that’s where most people will see it, via Instagram.
And don’t forget to update your Instagram bio to link to your new page!